
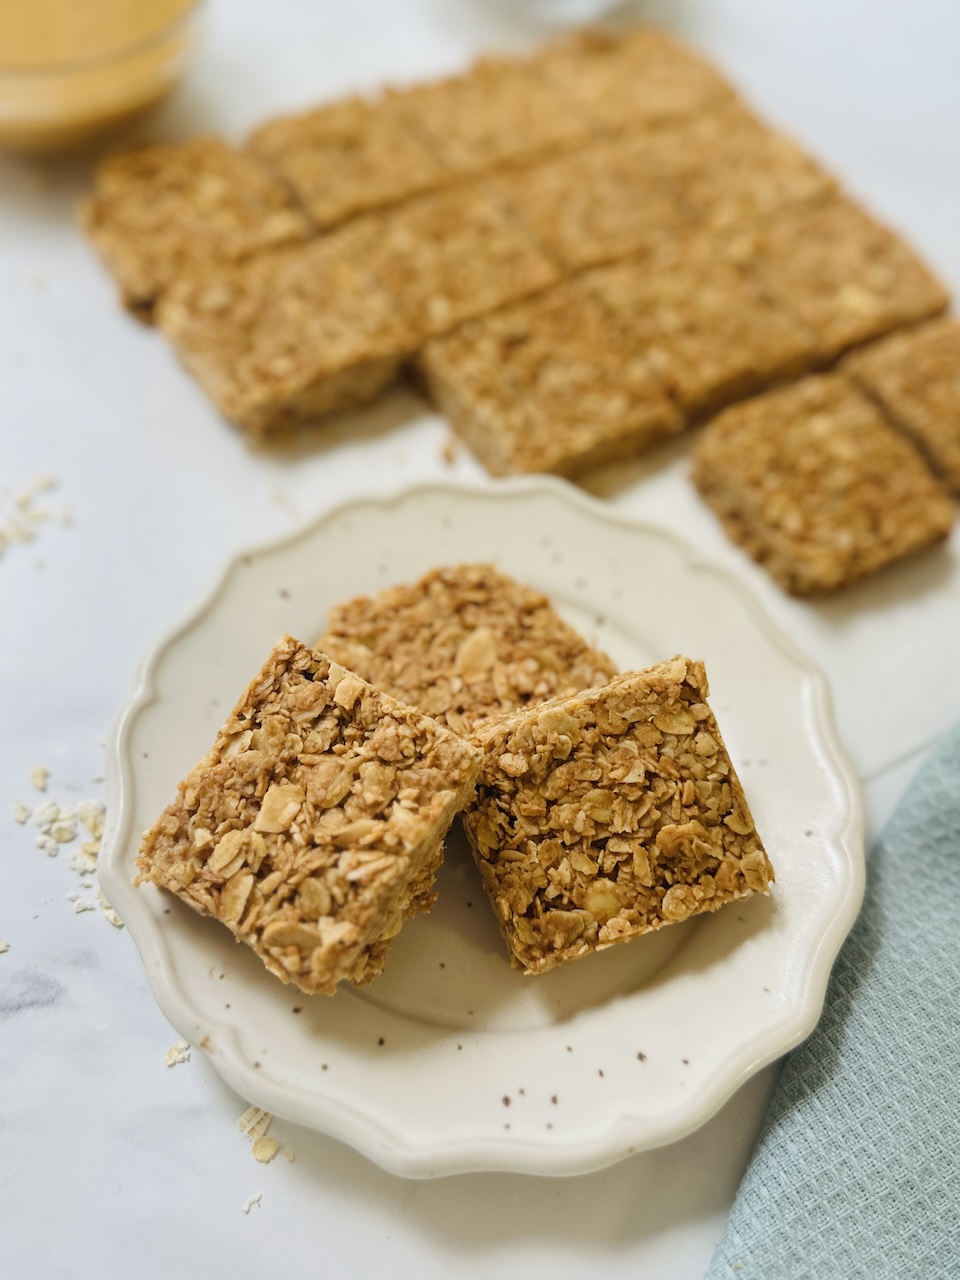
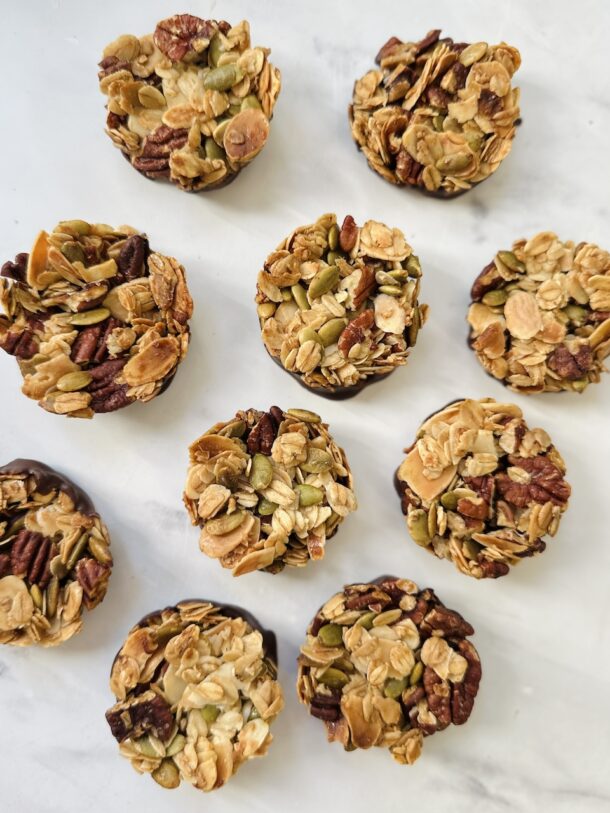
These easy no bake oat bars are made with toasted oats, coconut, flaked almonds and nut butter. They’re simple to prepare, made with just 6 main ingredients and there’s no food processor required.
Although these are technically no bake oat bars, I like to toast the oats, desiccated coconut and flaked almonds in a frying pan first. You can skip this step, but I think it makes such a difference to the flavour and only takes a few extra minutes.
These homemade oat bars are held together with almond or peanut butter, maple syrup and coconut oil. They’re great for making ahead and keeping in the fridge when you want an easy homemade snack.
Why You’ll Love These No Bake Oat Bars
- Made with just 6 simple ingredients
- No food processor required
- Easy to make
- Naturally sweetened with maple syrup
- Dairy-free and egg-free
- Easy to prepare ahead of time
- Great for snacks and lunchboxes
- Freezer-friendly
Nutritional Highlights
✅ Source of fibre: Oats, almonds and coconut all add fibre, which is important for digestive health and keeping you full.
✅ Made with simple ingredients: These no bake oat bars are made with just six main ingredients, including oats, nuts and coconut.
✅ Lower in added sugar: With just 60ml of maple syrup in the whole batch, these bars contain less added sugar than many shop-bought snack bars.
✅ No unnecessary additives: Making your own oat bars means you can keep the ingredient list simple, without any emulsifiers, artificial flavours or other additives.
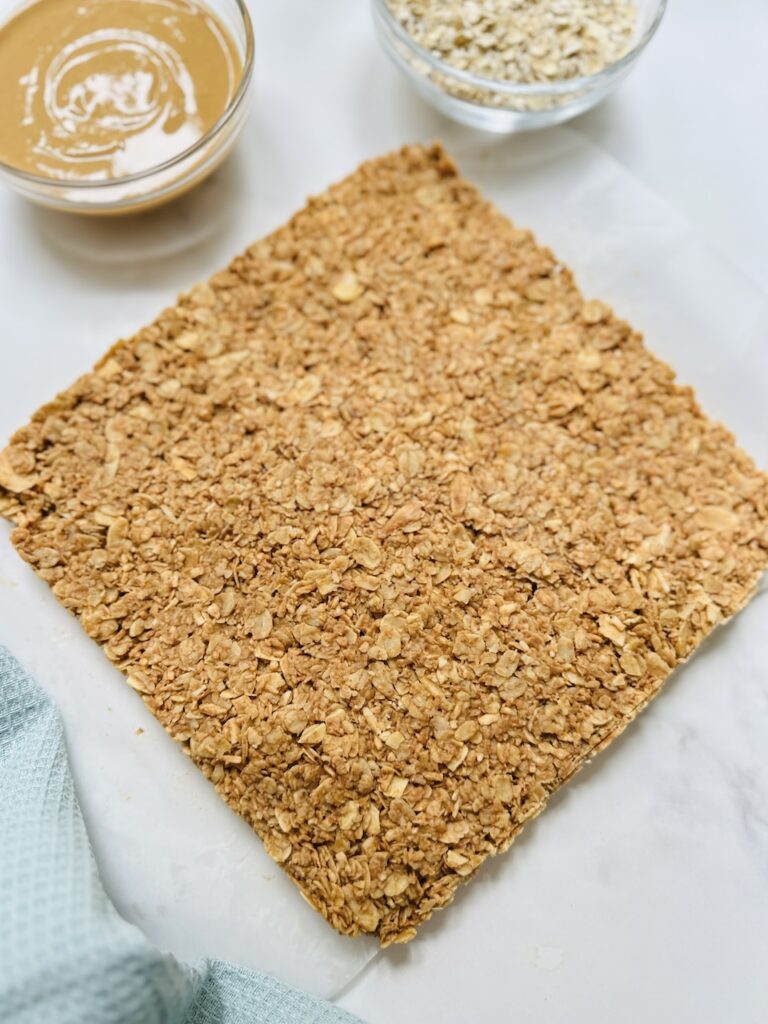
What Ingredients Do You Need for No Bake Oatmeal Bars?
- Rolled Oats
- Desiccated (Shredded) Coconut
- Flaked Almonds
- Almond or Peanut Butter
- Maple Syrup
- Coconut Oil
Nutritional Benefits of the Main Ingredients
Oats
Oats are a good source of fibre, including beta-glucan, a type of soluble fibre. They also provide a range of nutrients and are a great, cheap addition to these bars.
Almonds
Almonds provide healthy unsaturated fats, fibre and protein. They are also a good source of vitamin E, an antioxidant that helps protect cells from oxidative stress.
Nut Butter
Both almond and peanut butter provide healthy unsaturated fats, protein and fibre. They also help bind the ingredients together without the need for added lots and lots of oil.
Desiccated Coconut
Desiccated coconut provides fibre, adds plenty of flavour and texture and keeps these bars naturally sweet.
Storage and Shelf Life
Store these no bake oat bars in an airtight container in the fridge for up to one week. You can also freeze them for longer storage.
If frozen, allow them to soften for 10-15 minutes at room temperature before eating.
They won’t hold together for longer periods out of the fridge, so ensure they are refrigerated.
Recipe Tips
Use a runny nut butter: I use a fairly runny peanut or almond butter for these oat bars. If your nut butter is particularly thick or firm, you may need to add a little extra, so the mixture holds together properly.
Press the mixture down firmly: This is one of the most important steps. Use the back of a spoon or the base of a glass to really compact the mixture into the tin so the bars hold together when sliced.
Keep an eye on the coconut: Desiccated coconut can go from lightly toasted to burnt quite quickly, so stir the mixture halfway through and check it regularly towards the end.
You can skip the toasting step: If you want completely no bake oat bars, simply skip the oven and mix the oats, coconut and almonds with the remaining ingredients. I personally prefer the flavour when they’re toasted first.
Related Recipes
If you enjoyed these no bake oat bars, why not try these other oat recipes:
Pistachio & Cranberry Oat Bars
5 Ingredient Peanut Butter Bars
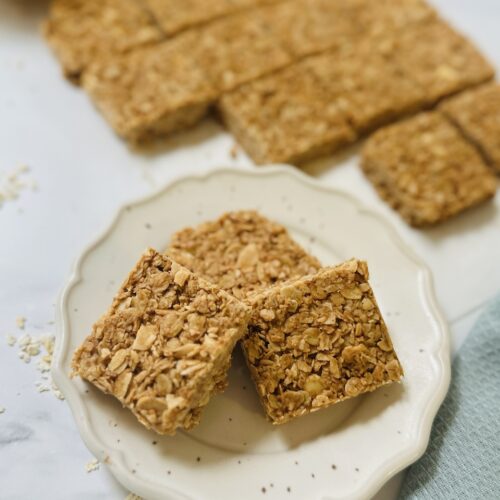
No Bake Oat Bars
Ingredients
- 2 cups rolled oats (200g)
- ¾ cup desiccated (shredded) coconut (60g)
- ½ cup flaked almonds (40g)
- ¼ cup maple syrup (60ml)
- ¼ cup melted coconut oil (60ml)
- ½ cup almond or peanut butter (120g)
- Pinch sea salt optional
Instructions
- Add the oats, coconut and almonds to a large frying pan and toast for 7-8 minutes. Keep an eye on them and keep mixing to ensure they don’t burn.
- Remove from the pan and add to a large mixing bowl with the other ingredients. Mix well until fully combined.
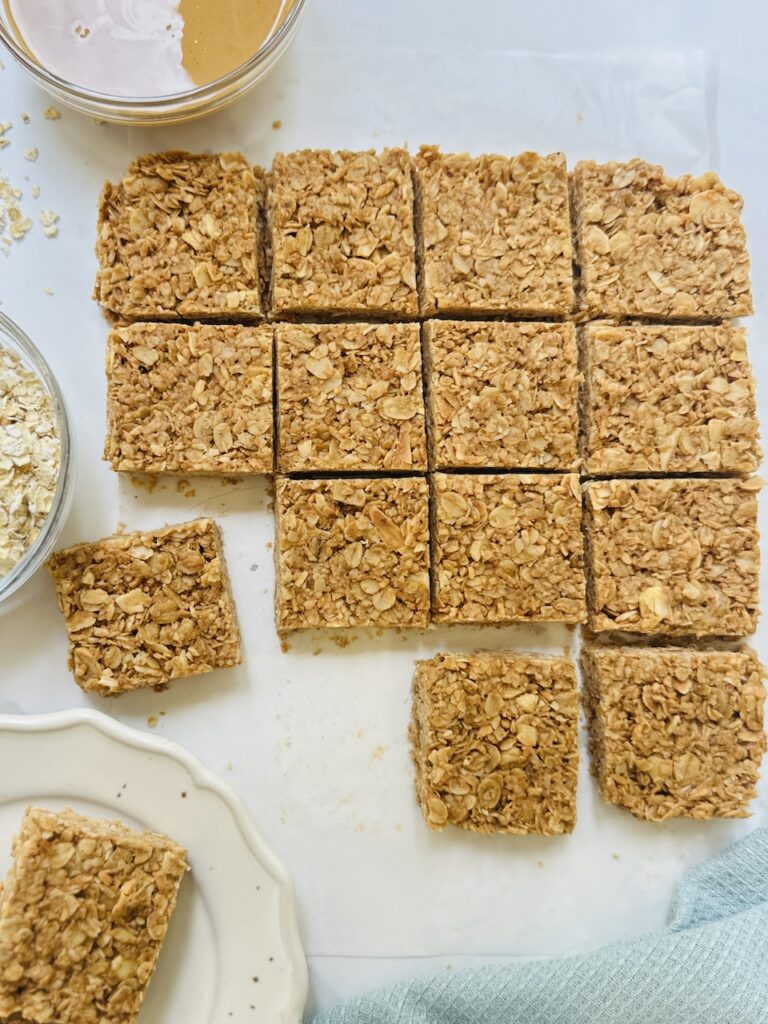
- Press down into a 20cm (8inch) baking tin (I use a glass over some parchment paper to really press down hard). Refrigerate to set for at least an hour, ideally two. Cut into bars. You may get a little crumble as you cut them (they're homemade!) but otherwise they should hold together really well.
- Store them in the fridge to hold their shape.
Notes
- These bars need to be stored in the fridge.
- They will last for up to a week in the fridge and can be frozen too.
- Use a runny nut butter to help them bind easier. If your nut butter is particularly thick or firm, you may need to add a little extra, so the mixture holds together properly. Alternatively, heat up the nut butter in a pan with the maple and oil until it is softer.

Yummy
Glad you like them!
Jyst so yummy and delicious anytime snack, recipes are always easy to follow
So pleased you liked them! And thanks so much for taking the time to comment – really appreciate it!
Mast
Is there an alternate to coconut oil as this is regarded as high in satuarated fat which raises Bad LDL Cholesterol levels?
Thanks
Not for this recipe I’m afraid as the coconut oil helps them harden. If you are looking for a bar recipe with lower saturated fat try these ones https://helenridgeway.com/recipes/oat-free-granola-bars/ or these https://helenridgeway.com/recipes/pistachio-cranberry-oat-bars/
Can you use anything instead of coconut oil?
Not for this recipe I’m afraid as the coconut oil helps them harden. If you are looking for a bar recipe with lower saturated fat try these ones https://helenridgeway.com/recipes/oat-free-granola-bars/ or these https://helenridgeway.com/recipes/pistachio-cranberry-oat-bars/