
This vegan nutella recipe is one you will want to make over and over again!
It’s got that classic, creamy chocolatey taste without all of the extra sugar and additives of the original.
And what’s even better is that it only has 3 simple ingredients:
- Hazelnuts
- Raw cacao powder
- Maple syrup
Why I make my own vegan Nutella
Traditional shop-bought chocolate spreads contain a significant amount of sugar and processed oils. In fact, the two most common ingredients are sugar and palm oil. Interestingly, they only contain 13% hazelnuts.
Why making your own vegan Nutella is so easy
Fortunately, making your own vegan nutella at home is easy, nutritious, and requires only three simple ingredients: hazelnuts, cacao powder, and maple syrup. This homemade version is free from dairy, refined sugars, and palm oil, making it a much healthier choice.
You can make it in a blender or a food processor. Just blend the nuts first, until they are very smooth, then add the other ingredients.
The Three Simple Ingredients
Hazelnuts
One of my favourite nuts and they form the base of this spread. Hazelnuts are naturally high in healthy fats, primarily monounsaturated fats. They are also an excellent source of vitamin E, an antioxidant that helps protect your cells from damage and supports healthy skin. They contain magnesium too. Hazelnuts bring a lovely rich flavour to this spread and offer a nutritional boost that you won’t get in a jar of processed Nutella.
Cacao Powder
This is the unprocessed form of cocoa, which means it retains more of its natural nutrients and antioxidants. Cacao is also rich in magnesium, iron, and calcium, making it a really nutritious and delicious addition to this spread.
Maple Syrup
A natural sweetener, maple syrup adds just the right amount of sweetness without the need for more refined sugars. It’s a good source of antioxidants and contains small amounts of essential minerals like manganese, zinc, and iron. Making the spread yourself means you can judge how much sweetness you add. I add 3 tbsp but add more or less depending on your own tastes.
Storage and Shelf Life
It stores really well in the fridge. I like to store in the fridge as it makes it last longer. It will last for at least 2 weeks. Make sure to sterilise the jar to help it last longer.
After chilling, the spread may thicken. If you prefer a softer texture, let it sit at room temperature for a few minutes before using.
How to sterilise the jar
To sterile your jar, wash in soapy water and rinse well. Put the jar (and the lid) in the oven at a low temp for about 30mins.
I hope you try the recipe! If you do, let me know what you think in the comments!

Recipe Tips
- Cacao: I have used organic raw cacao for the recipe. If you prefer, you can also use cocoa powder. Just use a high quality one, if you can.
- Remove the skins: Once roasted, rub the hazelnuts in a clean kitchen towel or between your hands, to remove their skins. It’s fine if a few bits of skin remain, but by removing most of them it will help achieve a smoother texture and reduce any bitterness.
- Blend patiently: When blending the hazelnuts, make sure to stop and scrape down the sides every so often. It will take several minutes before it reaches a smooth consistency.
- Sweetness Adjustments: Depending on your taste preferences, you can adjust the sweetness by either increasing or reducing the amount of maple syrup.
- Add a pinch of sea salt: For a salty-sweet taste, add a pinch of sea salt to the mixture.
Here are some other amazing hazelnut and cacao recipes:
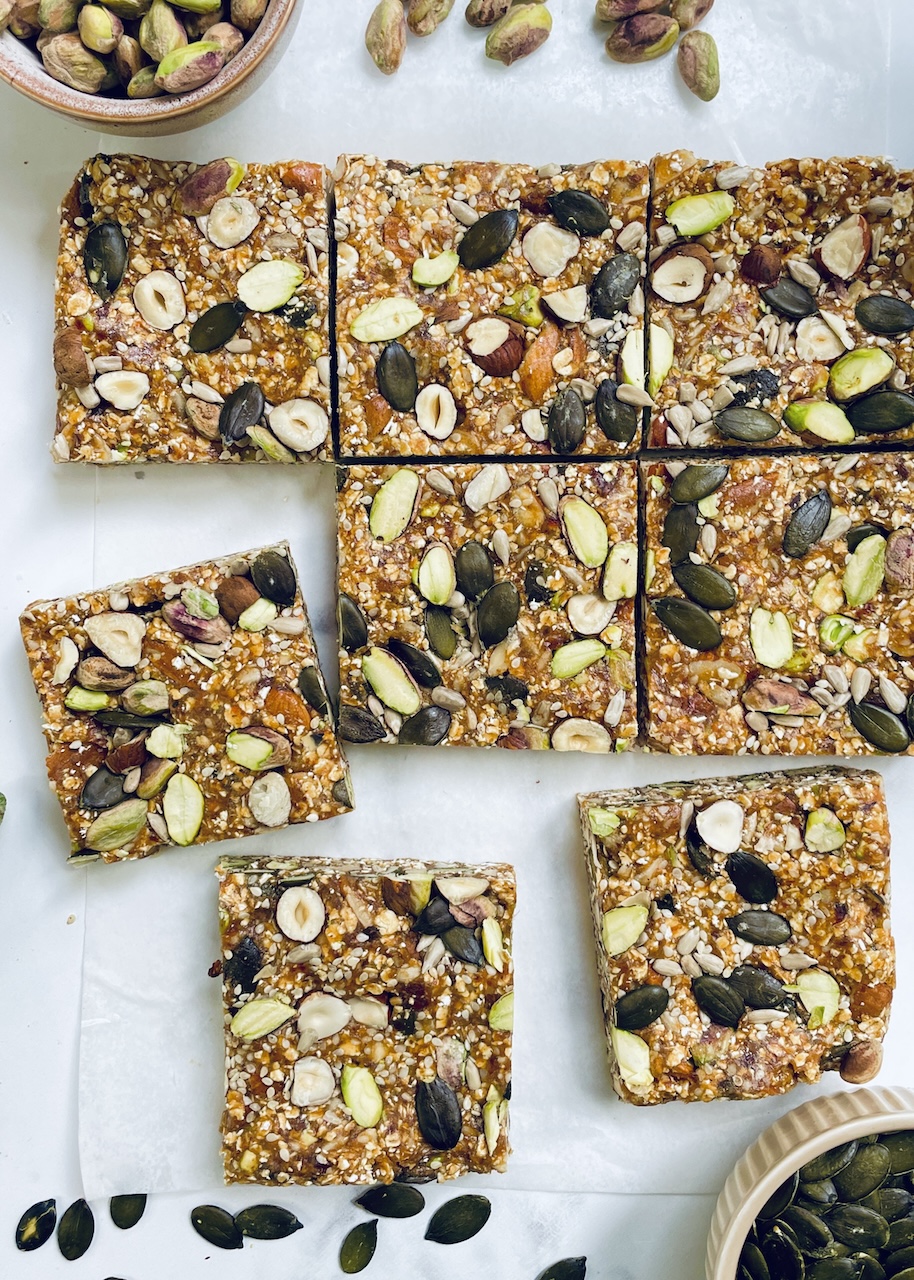
No Bake Buckwheat & Hazelnut Bars
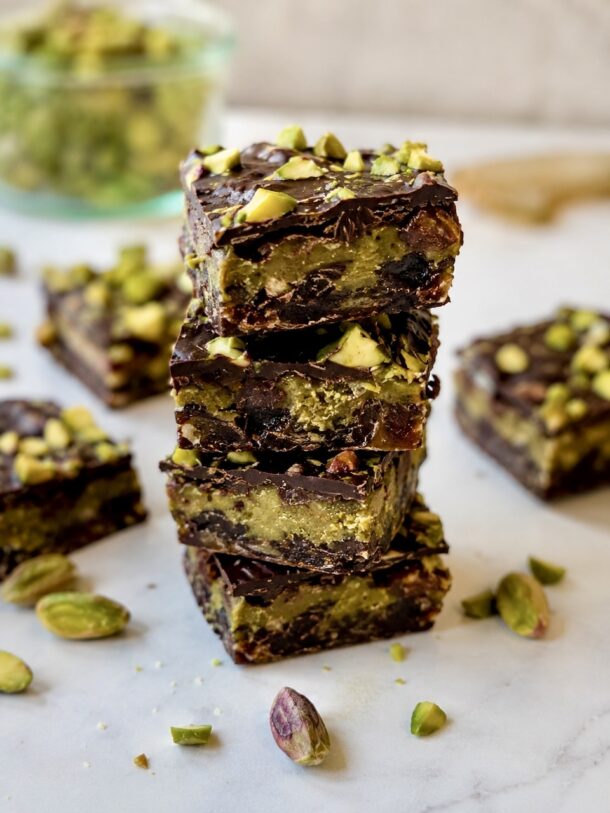
Chocolate & Coconut Cream Cups
High Protein Snickers Smoothie

Vegan Nutella
Ingredients
- 2 cups hazelnuts (280g)
- 3 tbsp maple syrup
- 4 tbsp cacao powder
- 1/2 cup water (125ml)
Instructions
- Preheat the oven to 180C or 350F.
- Add the hazelnuts to a baking tray and roast for 8-10 mins. Remove from the oven and leave to cool slightly. Once cool, rub the hazelnuts (in a tea towel or just between your hands) to remove some of the skins.
- Put the hazelnuts in a food processor. Blend for 5 mins (scraping down the sides every so often).
- Once the nuts are fully blended, runny and smooth, add the other ingredients and blend again.
- Spoon into a sterilised jar.
Notes
- I take most of the skins off the hazelnuts after they are roasted. Just rub them in your hands or in a clean tea towel and they come off.
- To sterile your jar, wash well and put in the oven at a low temp for about 30mins. I used a 400g jar.
- Nutritional information is based upon 2 tbsp of spread.


0 Comments